How to: use carbon tracing paper
One of the easiest ways to preserve your tissues patterns is to use carbon paper to trace piece directly onto your fabric. Follow along for the quick and easy way to transfer your pattern pieces onto your fabric without cutting your tissue!

Supplies
When using carbon tracing paper, you will need a few tools to get started:
- A tracing wheel. These can be sourced from your local fabric store or can often be found in second-hand shops. Wheels may come with pointy serrated teeth—which will pierce small holes on your pattern pieces, longer flat teeth—these will bruise your pattern but not pierce it and a solid wheel—which will also not pierce the paper but bruise it.
- Carbon paper in a colour that will stand out against your fabric. We stock Burda carbon paper in a yellow pack and a red/blue mixed pack which provides you with lots of options.
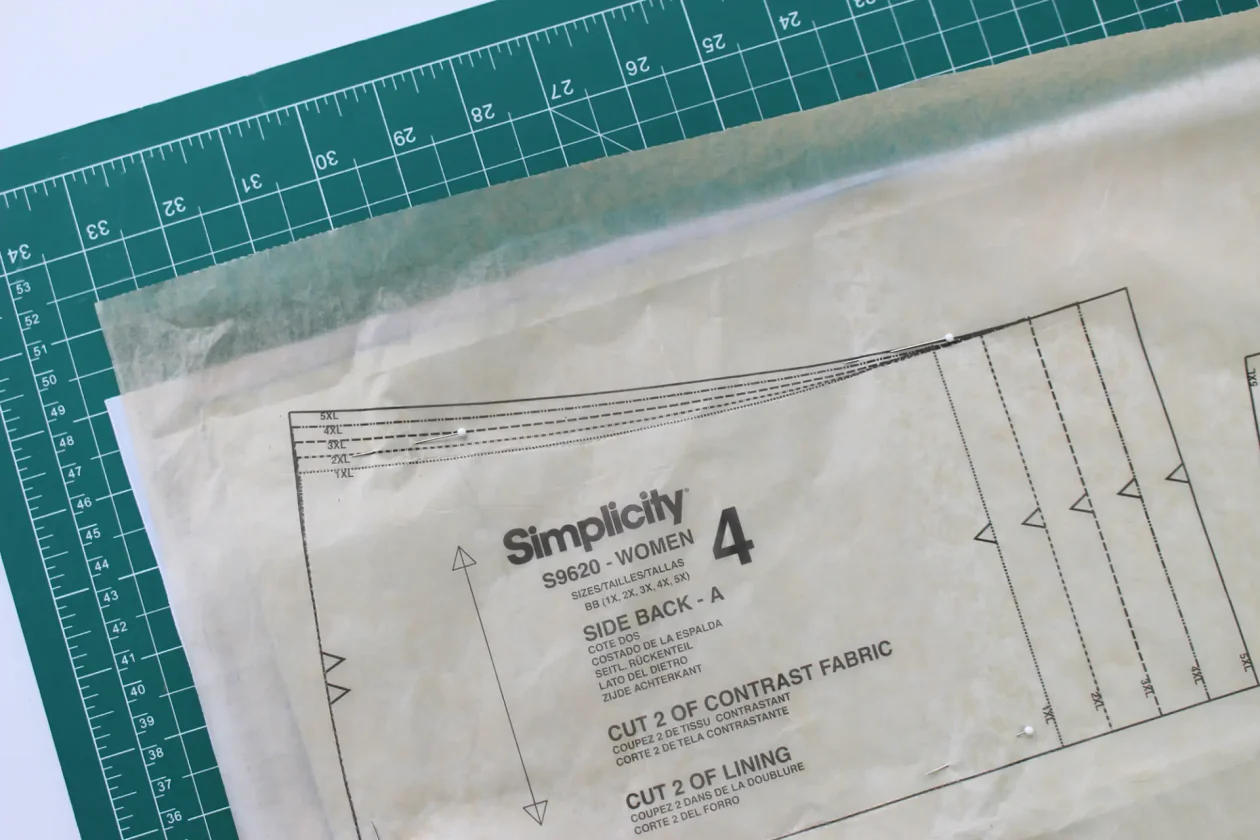
- Your tissue pattern. This could be an entire sheet or pre-cut pieces. If your tissue is badly wrinkled from being in the packet, try gently pressing with a DRY iron on low heat to flatten it out.
- Your fabric. If it is heavily wrinkled from pre-washing or storage, you may wish to press this prior to tracing to create an even surface to work with.
- Optional: a cutting mat or piece of cardboard to protect your table and ensure your tracing surface is even.
- Optional: a ruler to assist with tracing straight lines.
- Optional: a knitting needle to mark dots and ends of stitching lines.

To note
Carbon paper has a wrong and right side. The wrong side is white and will be on the outside when you remove your paper from the packet the first time. The right side will be a darker colour—in this case, blue. When tracing your pattern pieces, you will place the right (coloured) side of the carbon paper against the wrong side of your fabric. This way the marks will not show on the right side of your fabric.

The process
If using a cutting mat or cardboard to protect your table, place this down first. Lay out your fabric onto your mat/table either flat (with the right side facing down) or folded with the right sides touching. Add your pattern pieces to the top of your fabric where you would like to trace them. Next carefully slide the carbon paper—right side face down—in between the pattern paper and the fabric. Secure the layers of fabric, carbon paper and pattern pieces using your favourite method. We’ve used pins before but weights work equally as well. You can see below the printed side of the fabric is facing the cutting mat, the coloured side of the tracing paper is facing down and pattern piece is on top and this is all secured by pins.
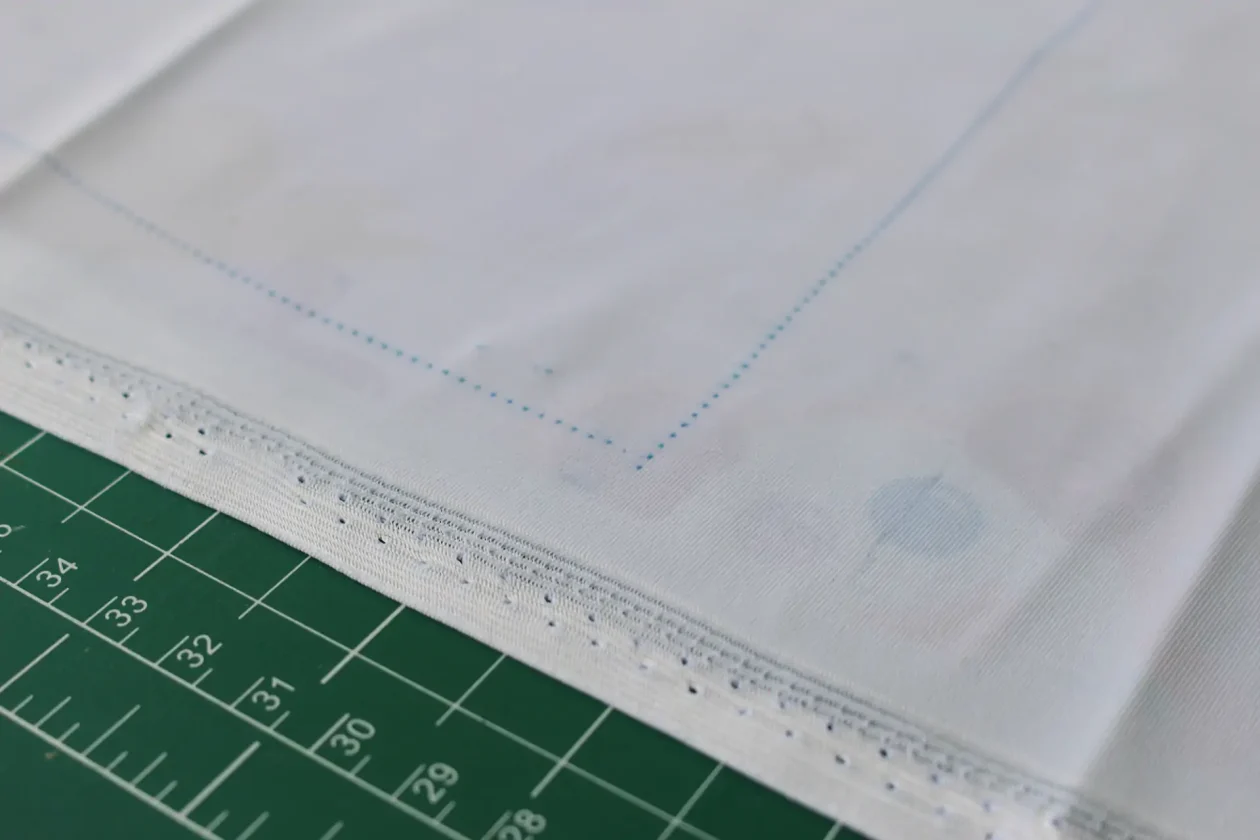
Now it is time to trace! Take your tracing wheel and carefully roll over the lines of your pattern pieces including seamlines, darts and notches. The wheel will press the carbon onto the fabric below. You may wish to use a ruler to help with long straight lines as this can ensure it is even. To mark dots or ends of stitching lines, you may wish to use the end of a knitting needle.

Once you have finished tracing all of your pieces, carefully remove your pins or pattern weights, pattern pieces and carbon paper. The carbon paper will have transferred your markings on to the back of your fabric and it is now time to cut your pieces out. Happy sewing!