
Maker Spotlight: Crowd Favourite McCall’s 7969 Dress Pattern
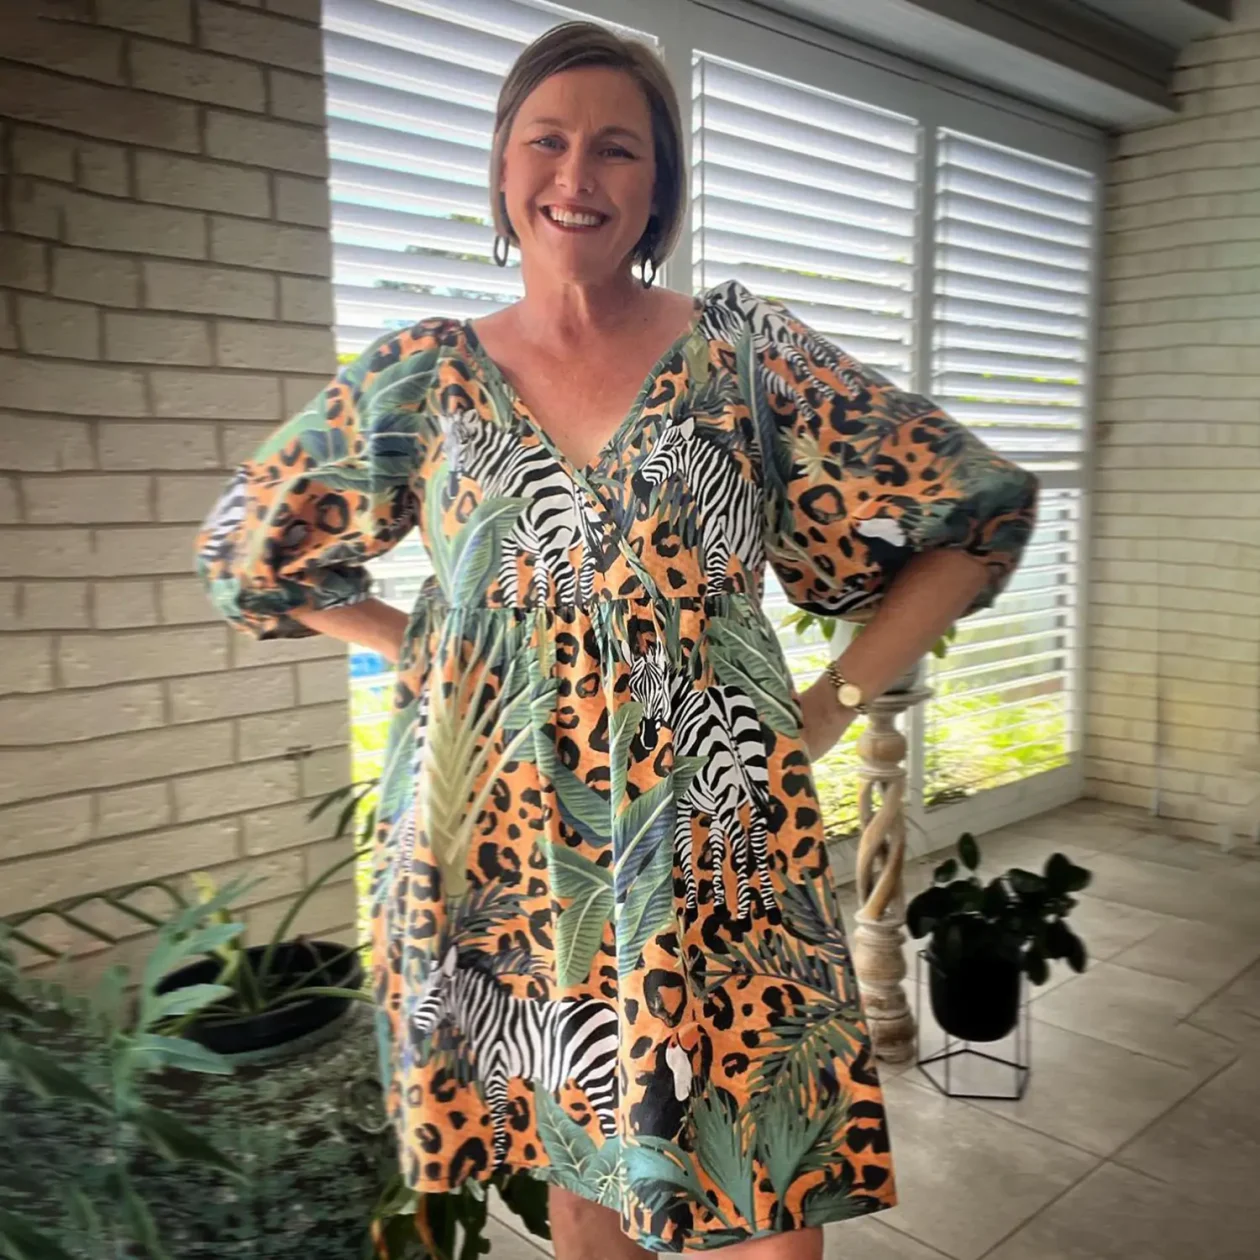
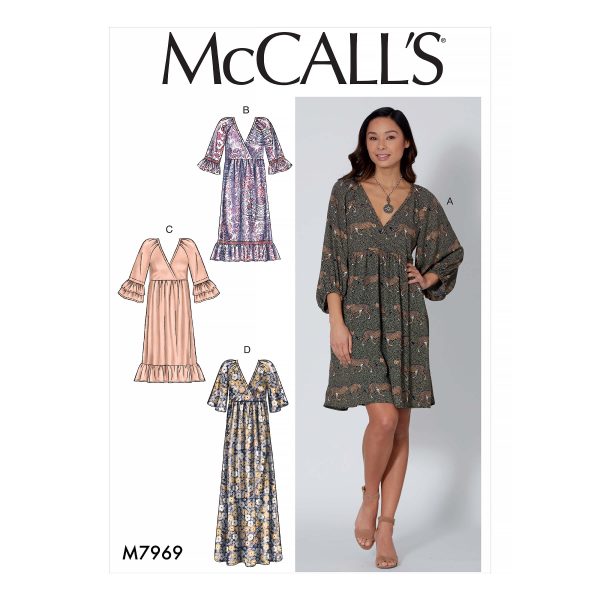
McCall’s 7969 is a crowd favourite without doubt! Have you made it? Or know a maker who has? This easy to sew dress is very loose-fitting, so much so it pulls over the head and does not need any fastenings. It has three sleeve designs that includes a straight slevee with ruffles or a flared sleeve that finishes above the elbow. The v neck line is finished with binding and this design is perfect for cotton blend fabrics.
To celebrate this dress coming to Sewdirect Australia as a PDF Pattern we have pulled together some of our favourite Australian makers with their versions of this pattern. Each of their profiles are linked below, if one of their makes inspired you give them a call out in your social media post.
Sewing Community Makes Of McCall’s 7969
@apparel_australeah created this version in adventurous fabric from a doona cover
@bobbinfox used a cotton shirting fabric from The Fabric Store

One of many versions by @pins_and_tonic in a Nerida Hansen Fabric

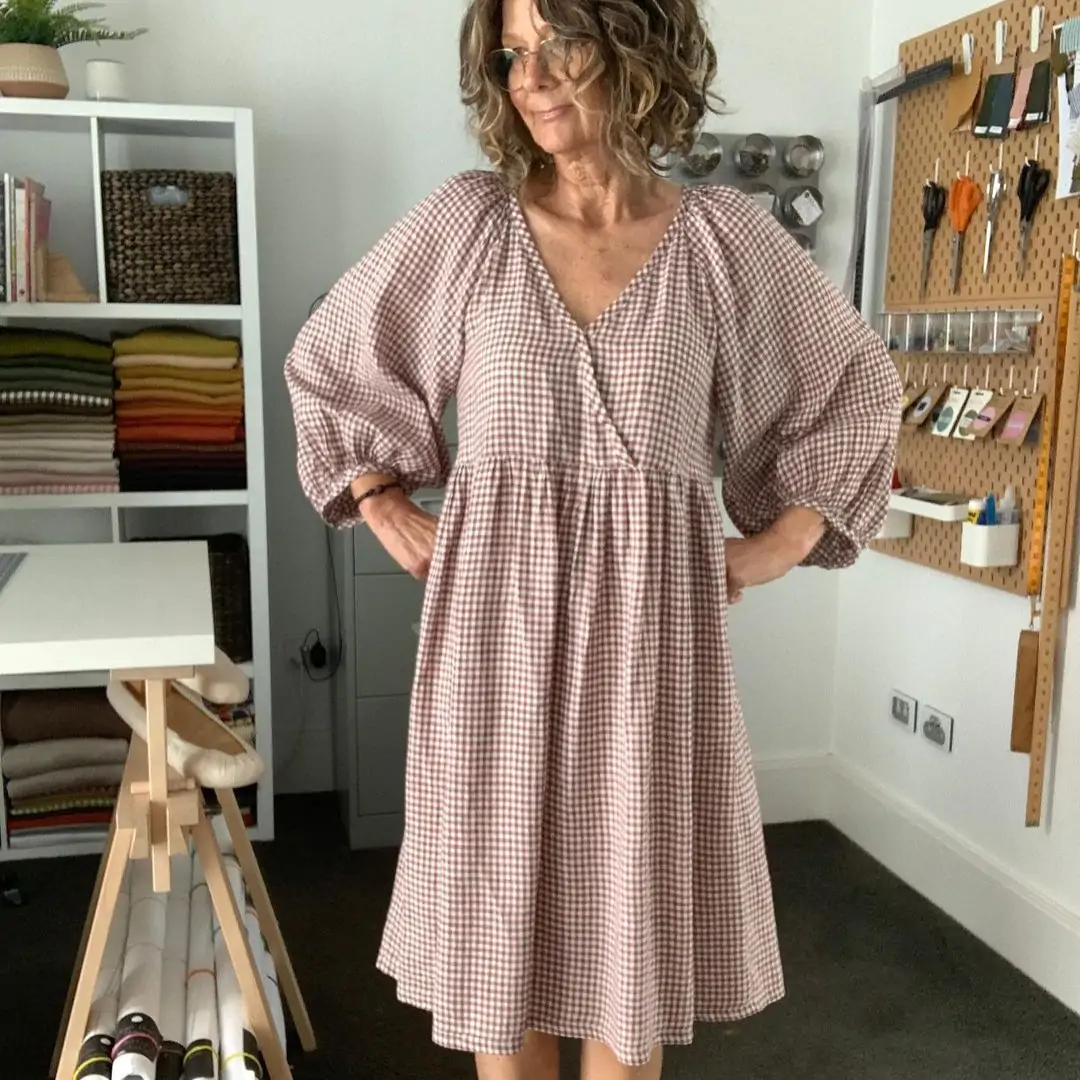
@janice.makes made this lovely large scale linen blend
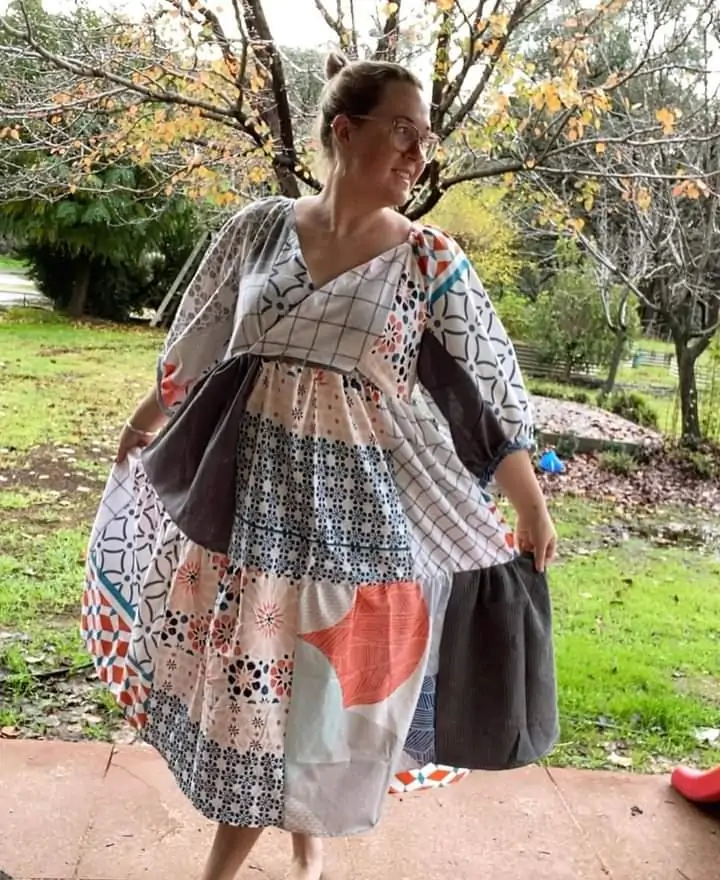
@madebydenisteph created her own pathwork fabric

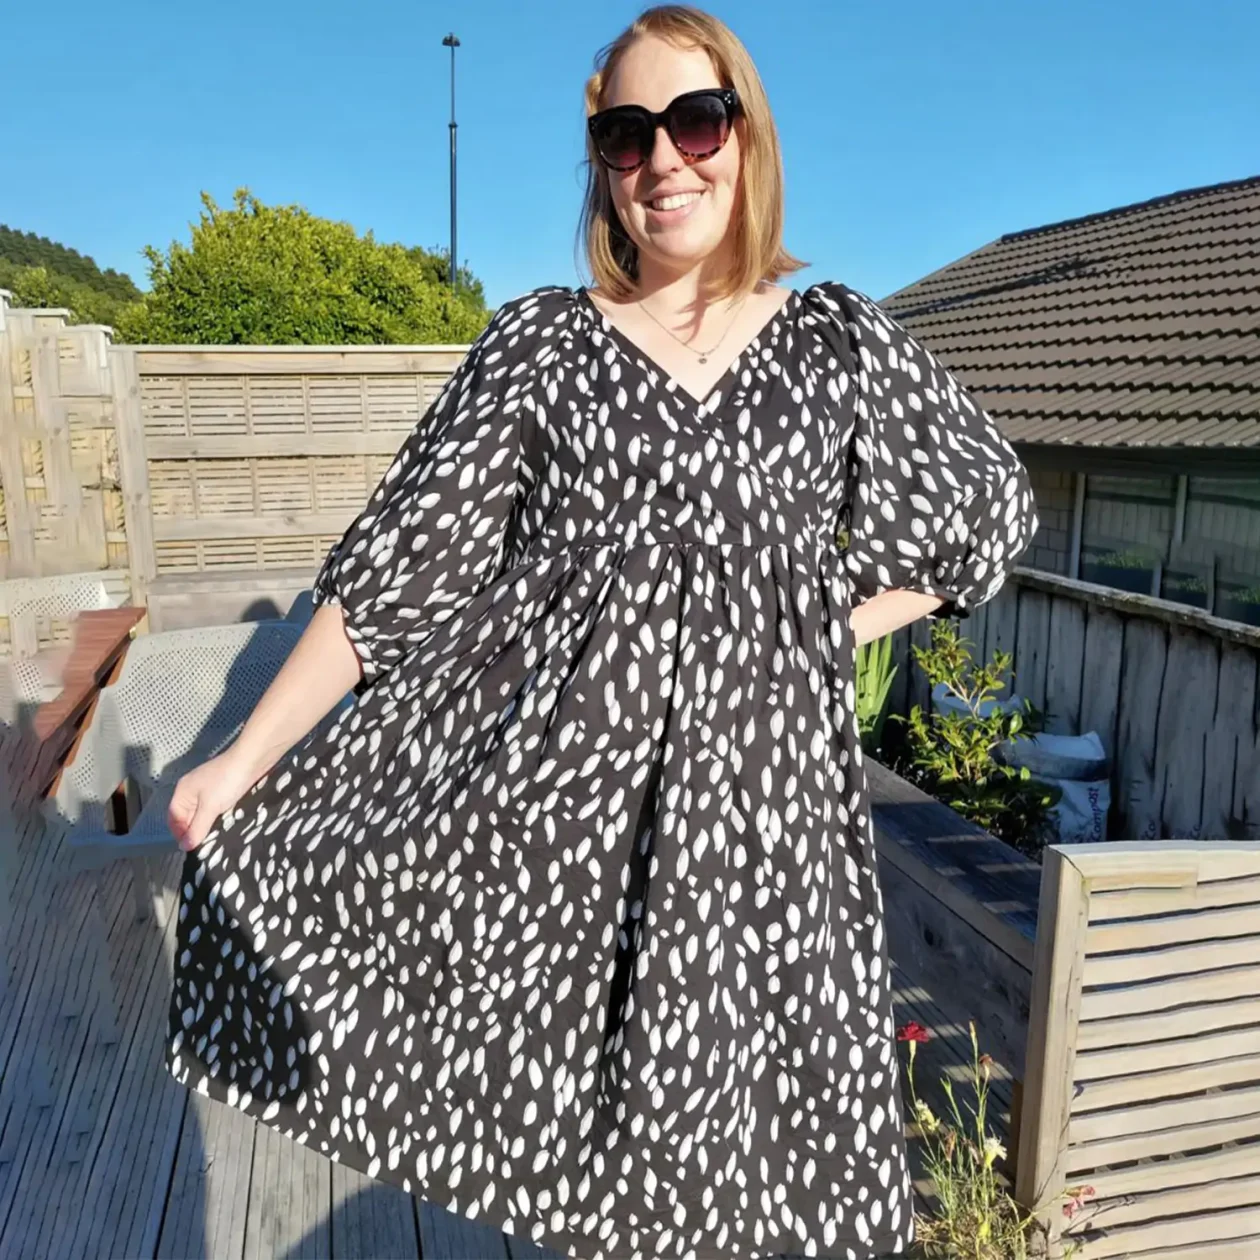
@createdby_kes made it in a classic black double cloth cotton
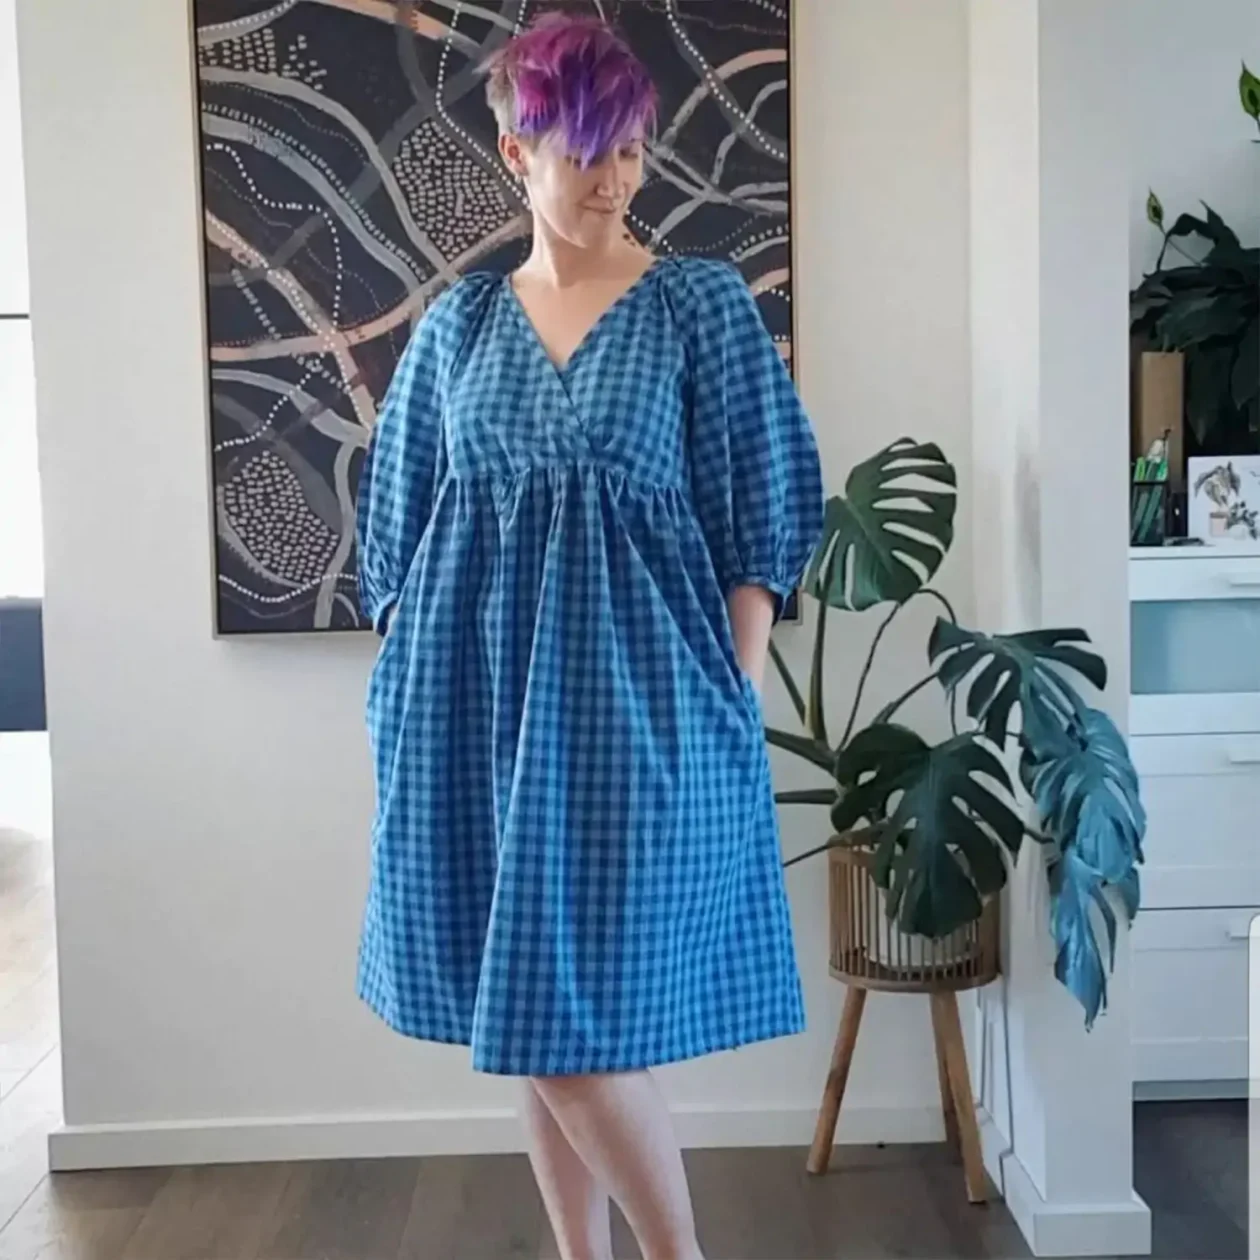
@stace_in_the_valley added pockets to her cotton gingham from The Fabric Store.

@worldaboutsam created this version from a Ken Done Vintage Doona cover.
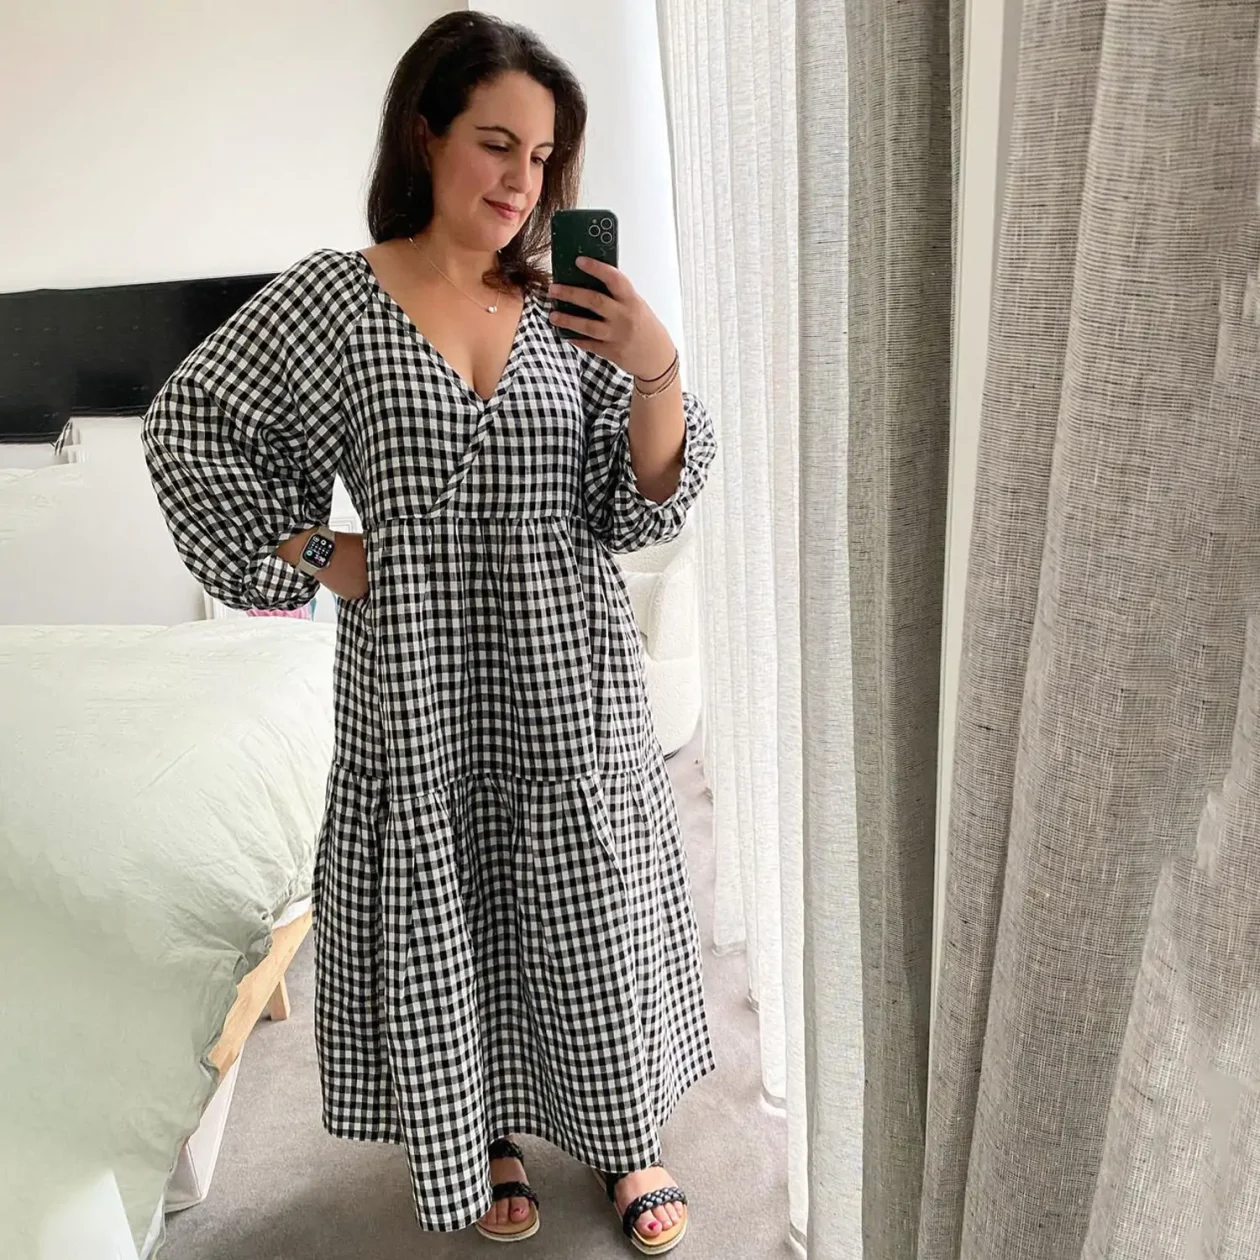
@fiona_sews chose chose the tiered skirt for her black gingham fabric.
@modelled_by_madge showcased the feature of gingham bias binding.

@anthea.jacklin used this pattern to showcase her Australian flowers of Sydney fabric print.

@bisforbryanna cropped the skirt panel to created this vibrant top from a table cloth.

@you_cansew created a cropped version with fabric from The Selvedge Society.

A black and white gingham from Common Stitch inspired @thewovenwardrobe
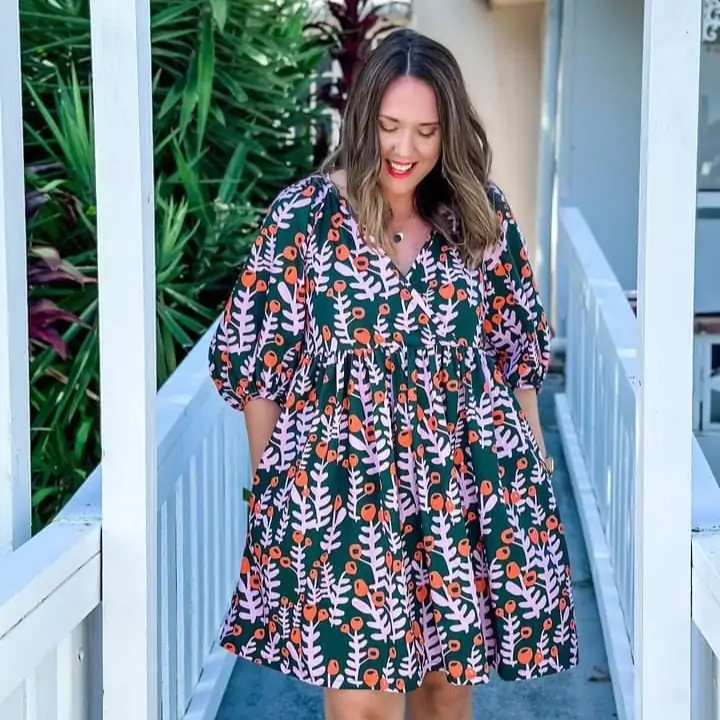
@sewtogrow showcasing Prairie Poppies fabric print in this version
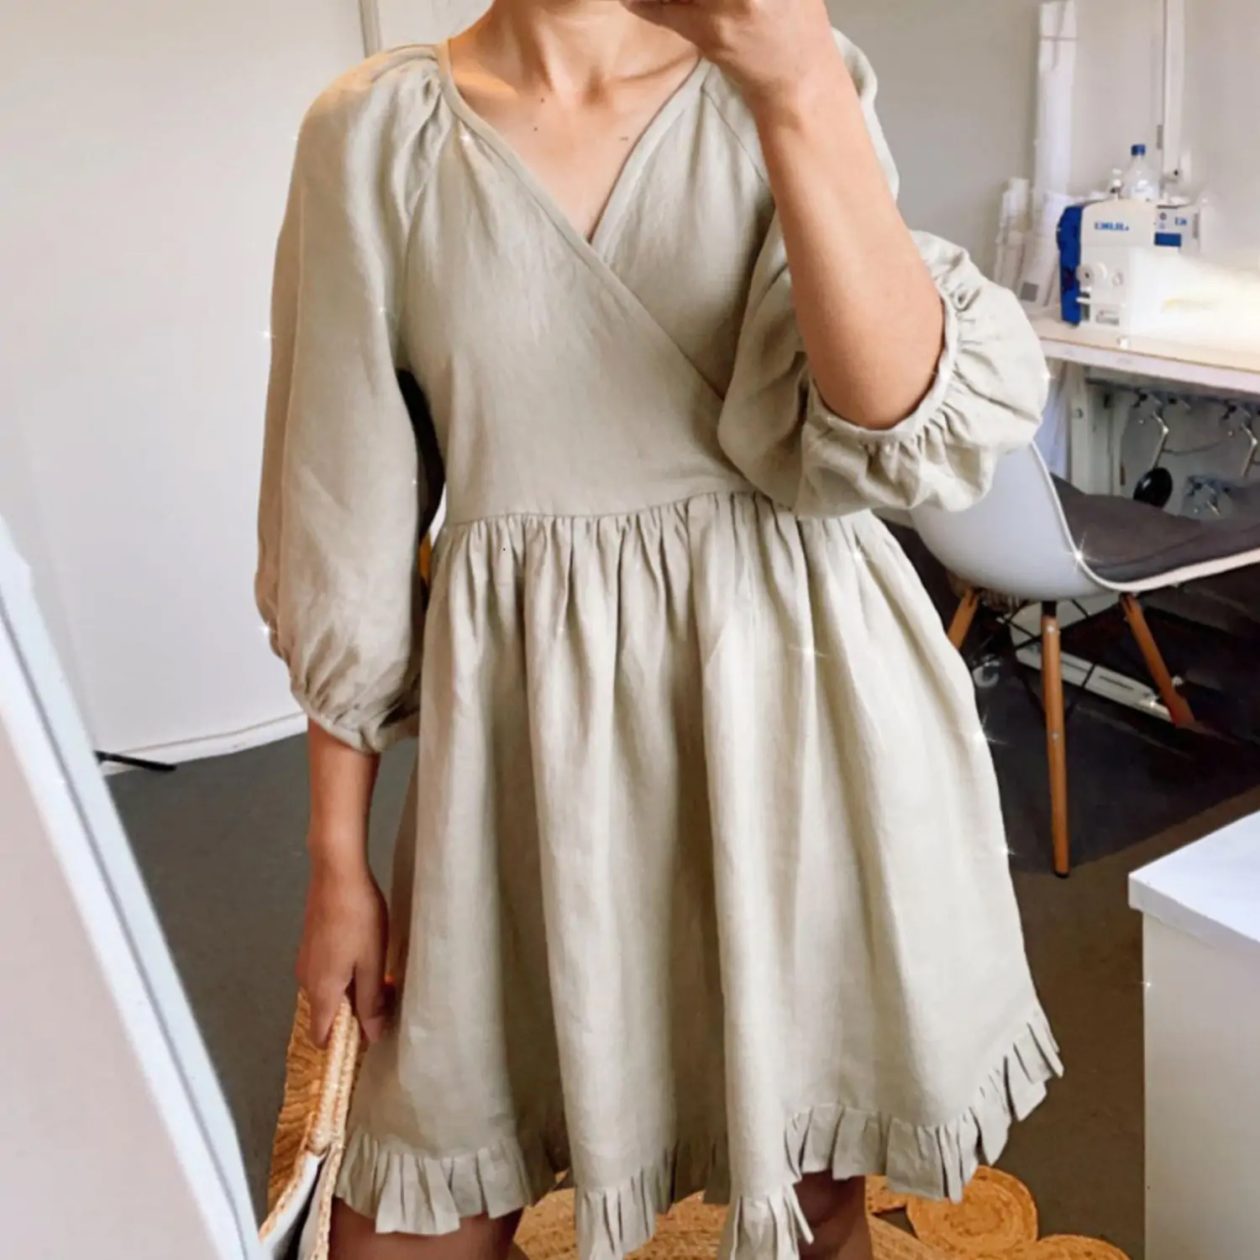
@sewselik added a pleated hem detail to this linen.
WHAT PATTERN SIZE AM I?
The most common question we’re asked about all sewing patterns is what size to choose. So we’ve made three easy video guides to help you 1) measure yourself, 2) pick your pattern size and 3) how to use our sewing patterns.
In short, the best results come when you compare your personal body measurements to our size chart (on the envelope and website) AND the finished garment measurements (on the envelope and tissue paper) for that particular style. We design the garments with different amounts of ease aka how much space there is between your body and the fabric.
M7969 is a very boxy design. With around 3″ (6cm) of ease at the bust and around 10″ of ease at the waist – there is no waist shaping at all, it hangs from the bust down.
Then the gathered skirt is extremely loose with the finished width being 30″ wider than the hips.
You may prefer to size down from our recommended pattern size (as given by the size chart) if you don’t want such an oversized finished garment.
HOW CAN I GET MORE COVERAGE AT THE BUST?
With an oversized style like this you might find that the wrap point at the centre front position is quite low and revealing at the bust. Well not to worry, you can do a simple fix to raise the centre front point.

Make a quick test garment using spare fabric to work out how much height you’d like to add to the wrap point.
Remember that the bias binding needs to be in place along the upper edge to truly know the finished wrap point at the centre front.
Use sellotape to stick the excess paper to the front diagonal edge to give you room to work.
Extend the centre front line upwards. Then mark on that line a new point, at the amount you’d like to raise the neckline. In this example I raised the point 2cm.
Starting just after the circle marking near the shoulder draw a straight line from that position, through your new centre front point to the waist.
Redraw the waist edge to connect to the extension you’ve added.
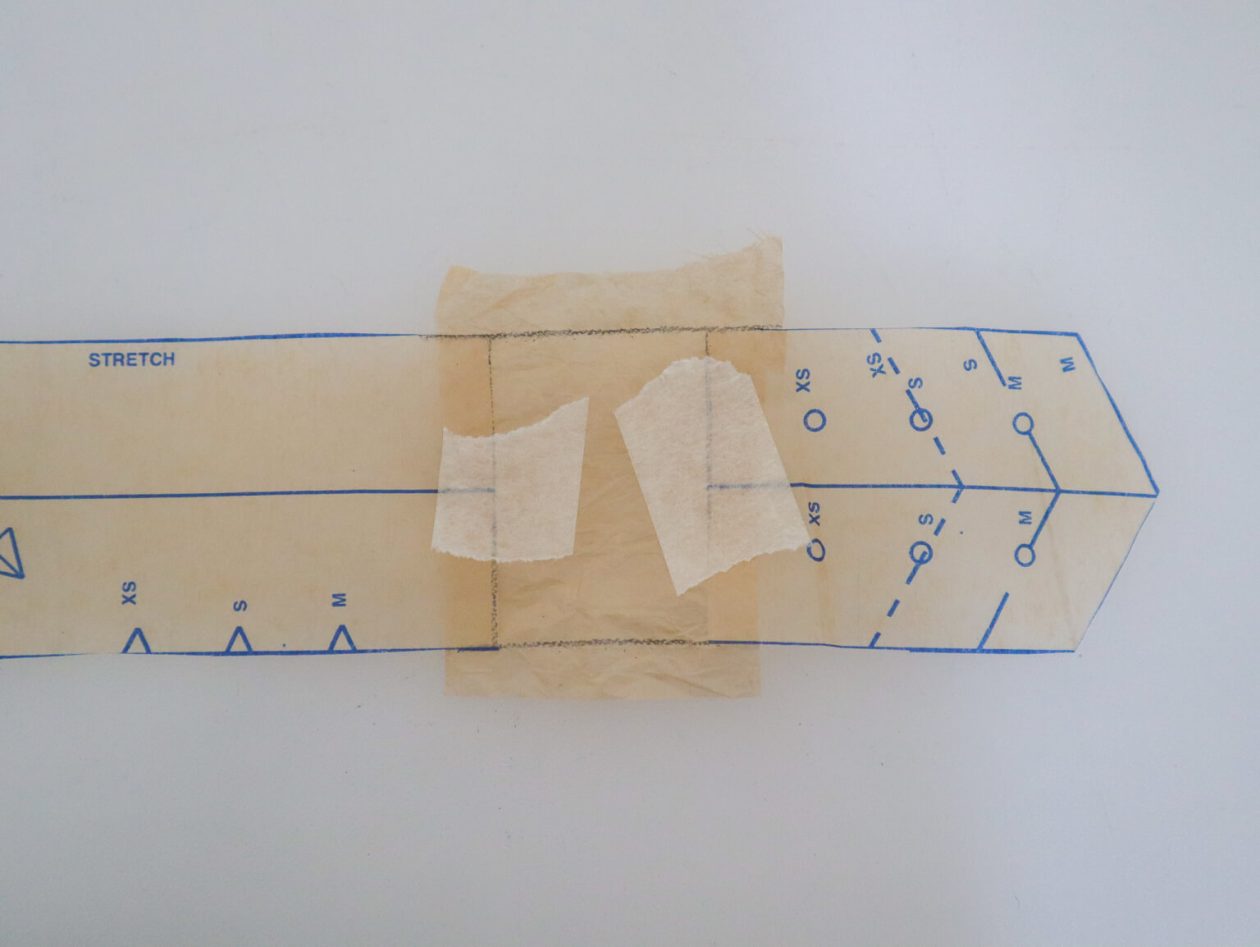
Measure the new length of the diagonal edge against the original and extend the length of your bias strip. Slash at a 90 degree angle near the pointed end of the pattern piece. Insert a block of tissue the required amount.
Lay the bias strip pattern piece along the diagonal edge, matching the small circles (just to the left of the number 8) and matching the waist edge with the pointed end of the stitch. Transfer the triangular notch from the bias strip in the corresponding place on the bodice to help you match them during construction.
SHARE YOUR MAKES WITH US
We look forward to seeing your makes! Tag Sewdirect at Simplicity McCall’s Australia on Instagram @simplicitymccallsaustralia and Facebook remember to use #sewdirectaustralia